
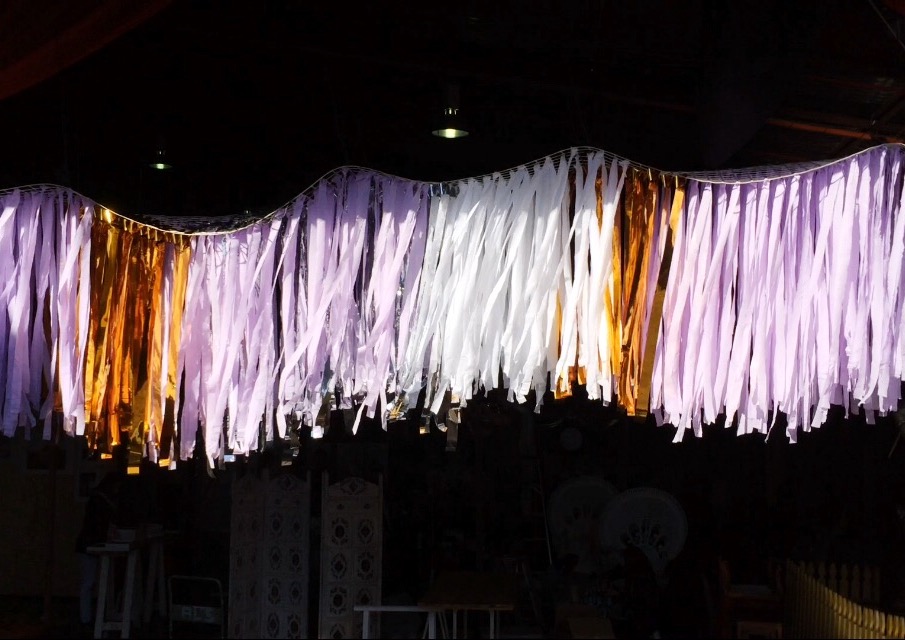
We recently put together an awesome streamer backdrop installation for our Confetti Fair Twilight event! We took our inspiration for our installation from The Color Condition in the US who make incredible streamer creations and installations. You can make your own DIY streamer backdrop too!
CLICK HERE >> TO SEE AN UPDATED VERSION OF THIS STREAMER BACKDROP DIY!
What you’ll need for your streamer backdrop installation DIY
- Garden Trellis ~ We used 6m x 0.5m Plastic Trellis from Bunnings
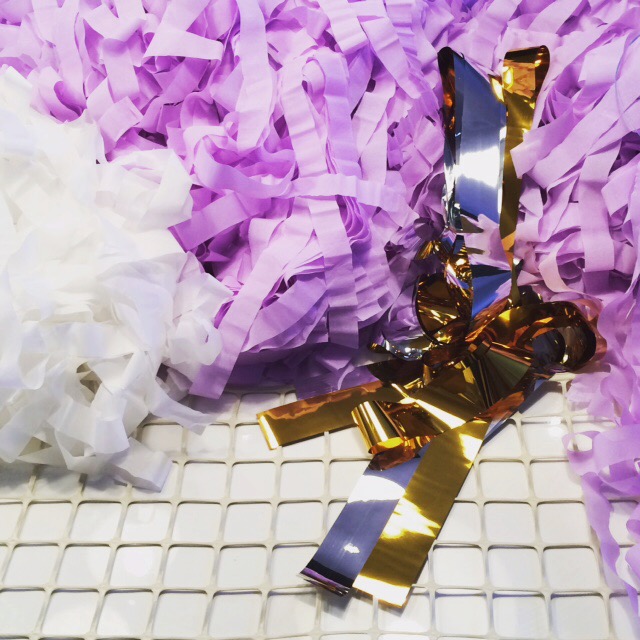
- Streamers ~ You’ll need 600m of streamers for a 6m x 0.5m strip of trellis ~ We used white and lilac crepe paper streamers, gold and silver metallic streamers, all sourced from Born to Party
- Rope ~ To hang your installation once it’s finished. We used six separate sections of rope from Bunnings to hang our installation.
- Scissors
- A whole lotta patience
Step One
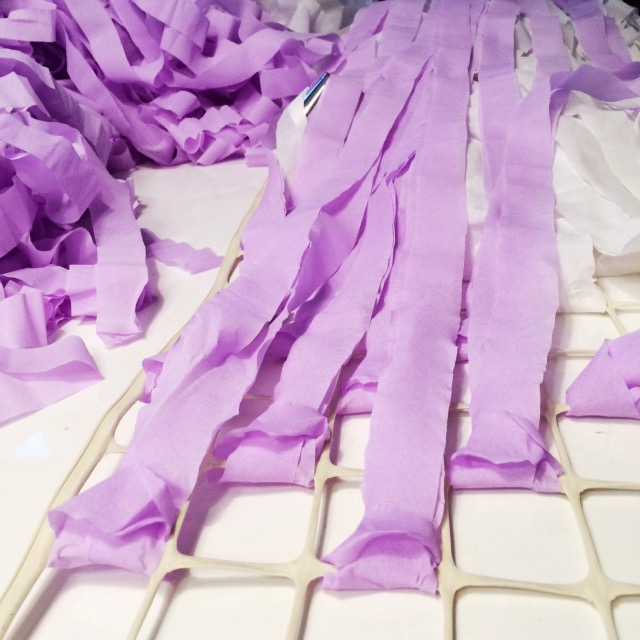
Cut your streamers into 2m lengths (You can cut a few rolls at once by holding onto the ends of the streamers, throwing the rolls into a bucket, then roughly measuring and cutting your 2m sections)
Step Two
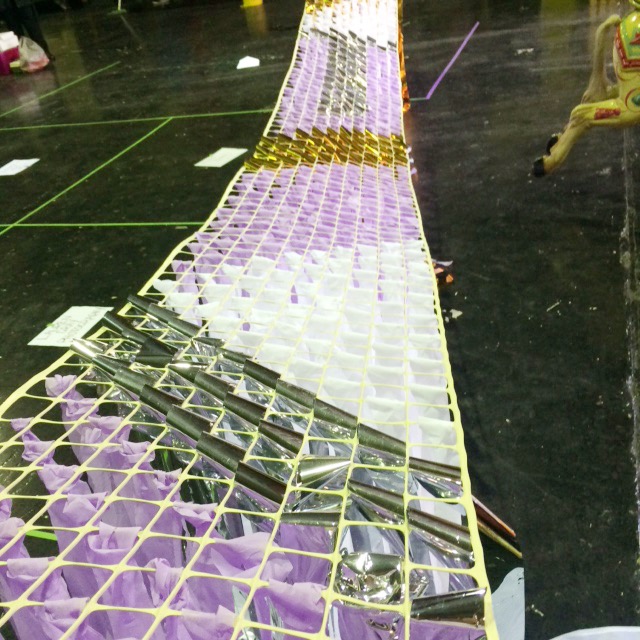
Attach your streamers to the trellis ~ To do this, fold your 2m sections in half and loop them around every second dividing section of the trellis. Feed the ends of your streamers through the loop you’ve made (by folding in half) and pull just tight enough to secure. Don’t pull too hard that they tear though, we found this out the hard way!
We’ve used blocks of colour throughout the trellis with hints of gold and silver.
Step Three
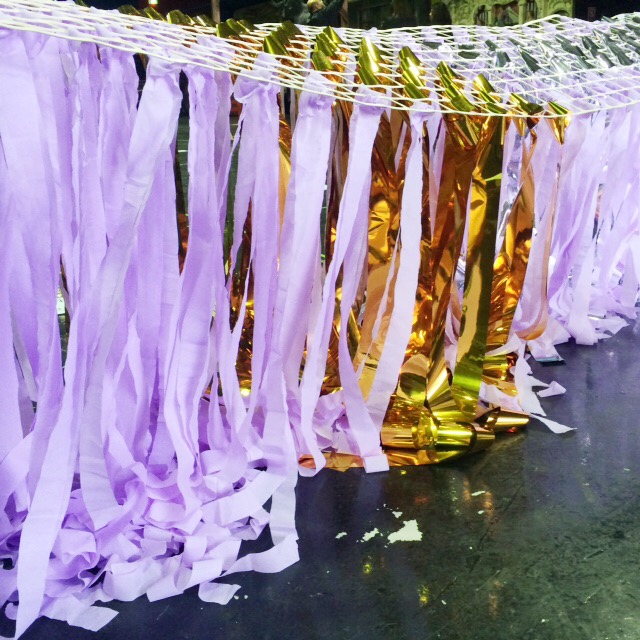
Once you’ve attached all of your streamers and you’re happy with how it looks, it’s time to hang your trellis. We attached rope to the trellis at 1m intervals and hung from beams in the ceiling. You probably won’t need a forklift for this step!

Step Four
Trim any streamers that are a little bit too long, then step back, pat yourself on the back and admire your work!


Comments are closed.