
Our friend Sally of The Party Project joins us again for a DIY cookie project. Read on for more!
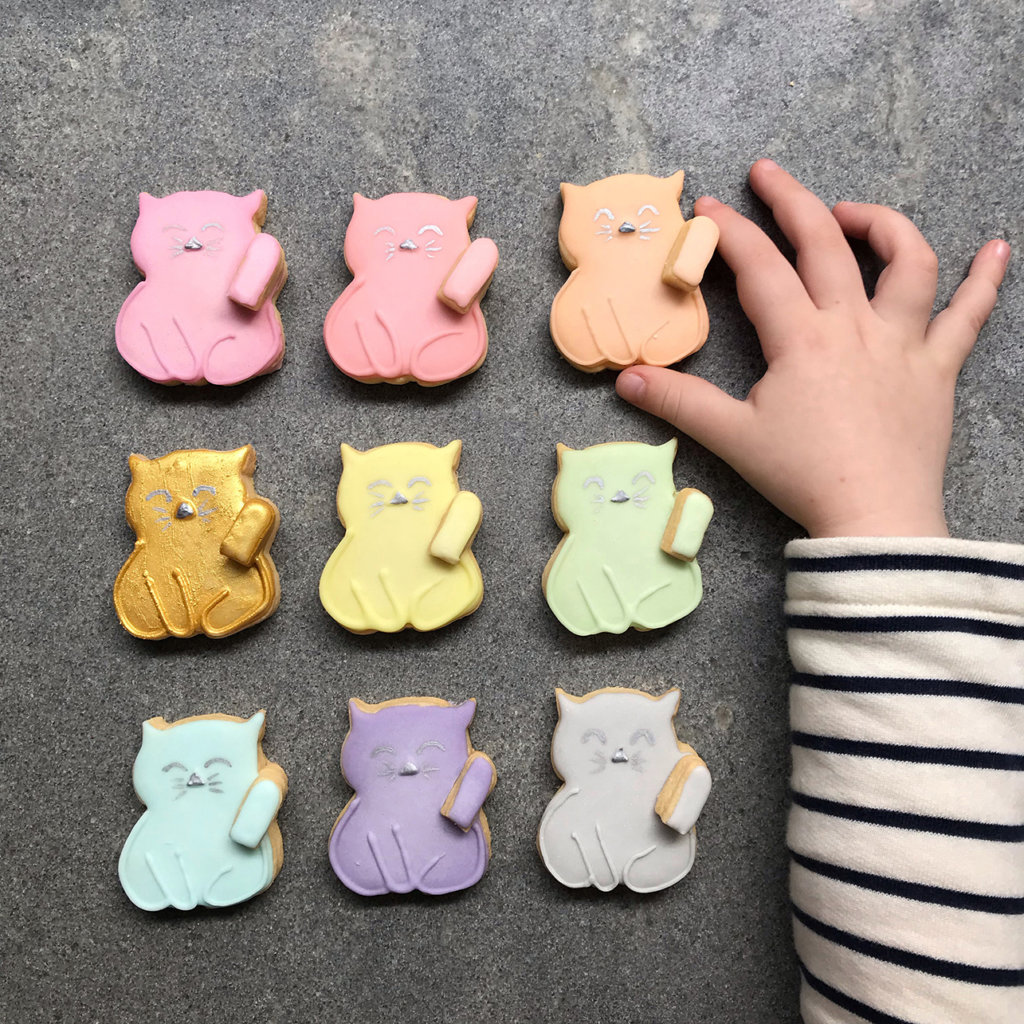
My kids always want everything rainbow and after getting a kitten they have also become cat obsessed. I designed this @macstencils cutter for a Hong Kong-themed party we had but it’s too cute not to use it again and again. So here is my rainbow cute waving cats DIY.
What you will need for your royal icing cookie DIY
Tools
- Icing bags (I just use small zip lock bags and clips)
- Toothpick
- MACStencil cute waving cat cookie cutter
- Rolling pin
- Paintbrush
Edibles:
- Cookie dough
- Royal icing powder
- Food colour
- Edible paint
1. Using the cat cookie cutter cut out some cats and arm cookies and bake according to your recipe. Dip your cutter in icing sugar in between cutting each cookie and chill the cut out cookies in the fridge for ten to fifteen mins before baking. 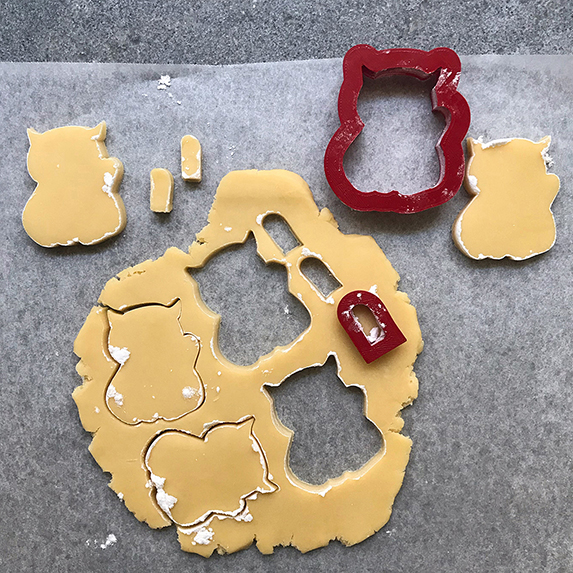
Do remember that the smaller arms will take half the time to bake so either bake them separately or remove them halfway through baking when they look done.

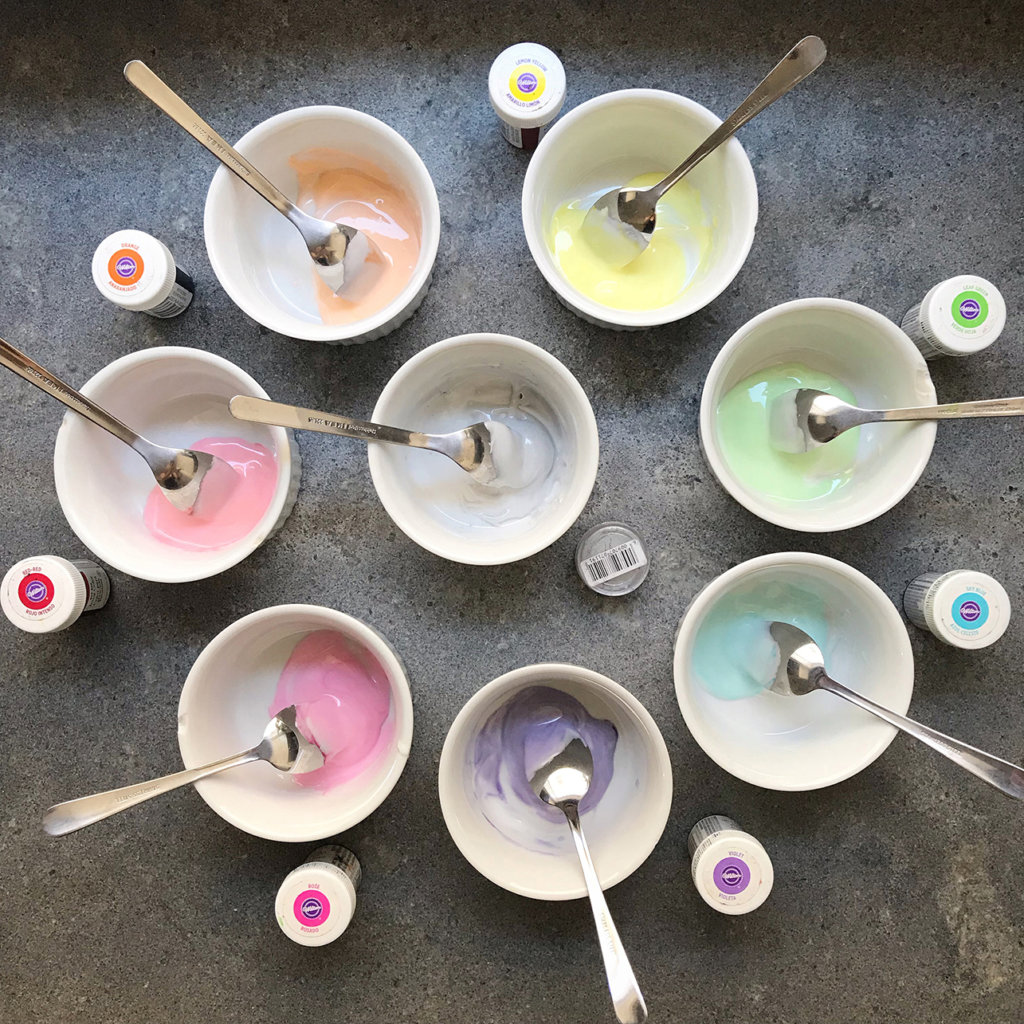
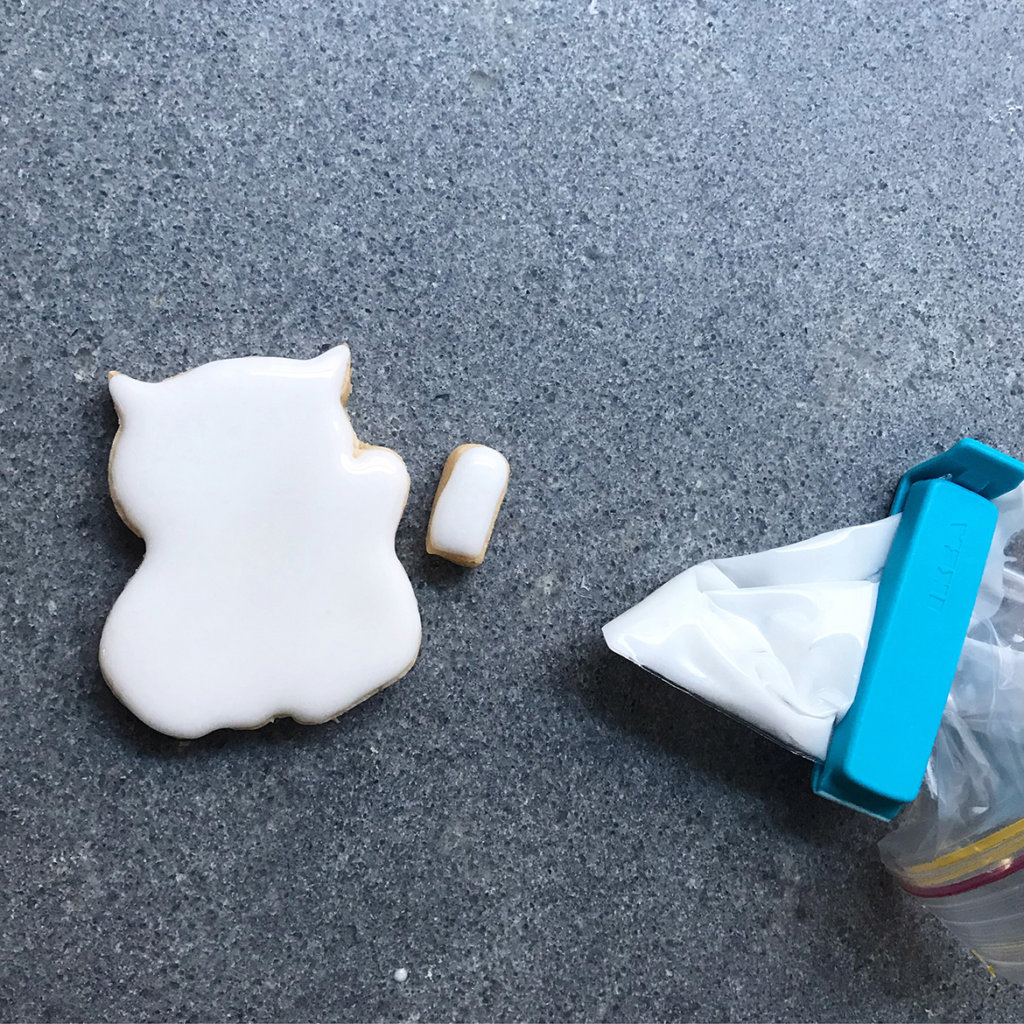
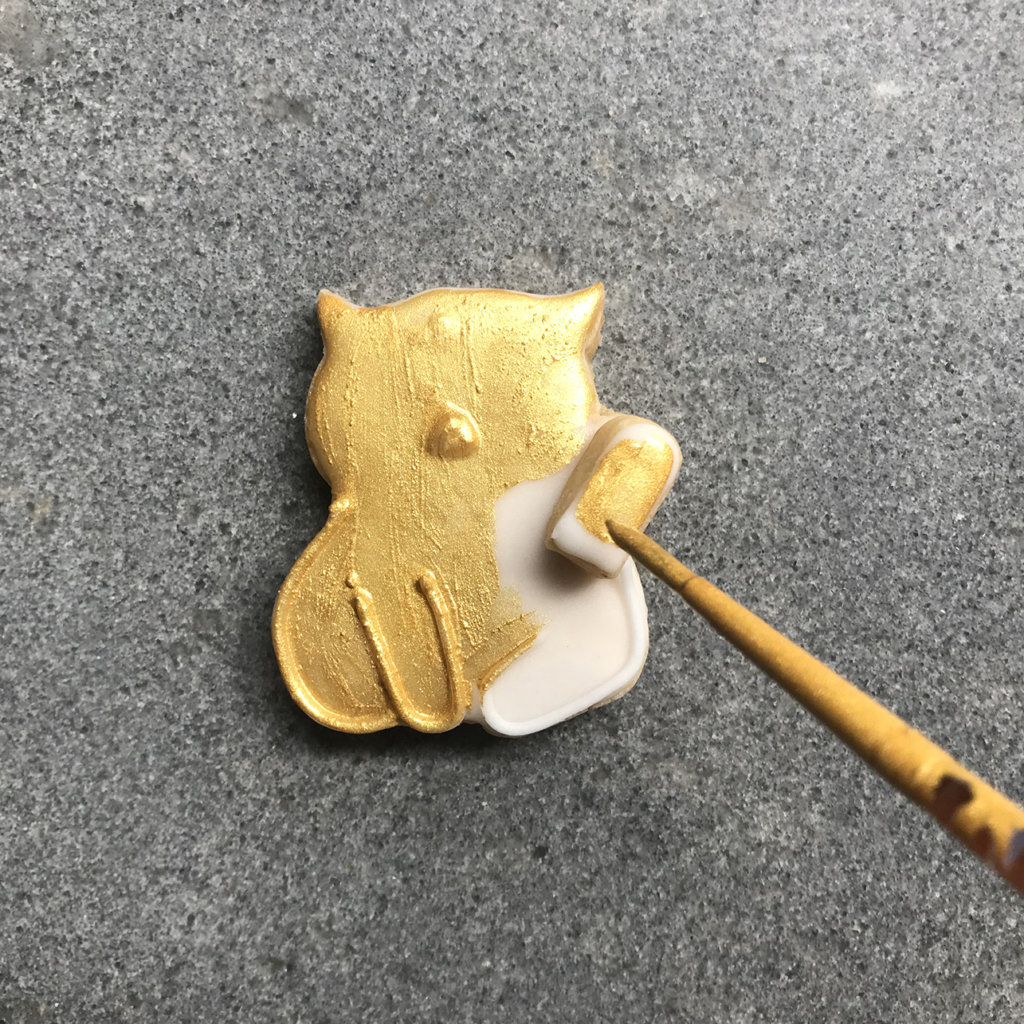
2. While your cookies are cooling make up two bowls of royal icing, one a thick toothpaste consistency for outlining and one a thinner shampoo consistency for flooding your cookie. Then you can colour and bag your icing. I use small zip lock bags and clips as that’s what I have at hand and Wilton food colour gels. If you are making a traditional gold one, you can just make that one white as you will paint it later on.
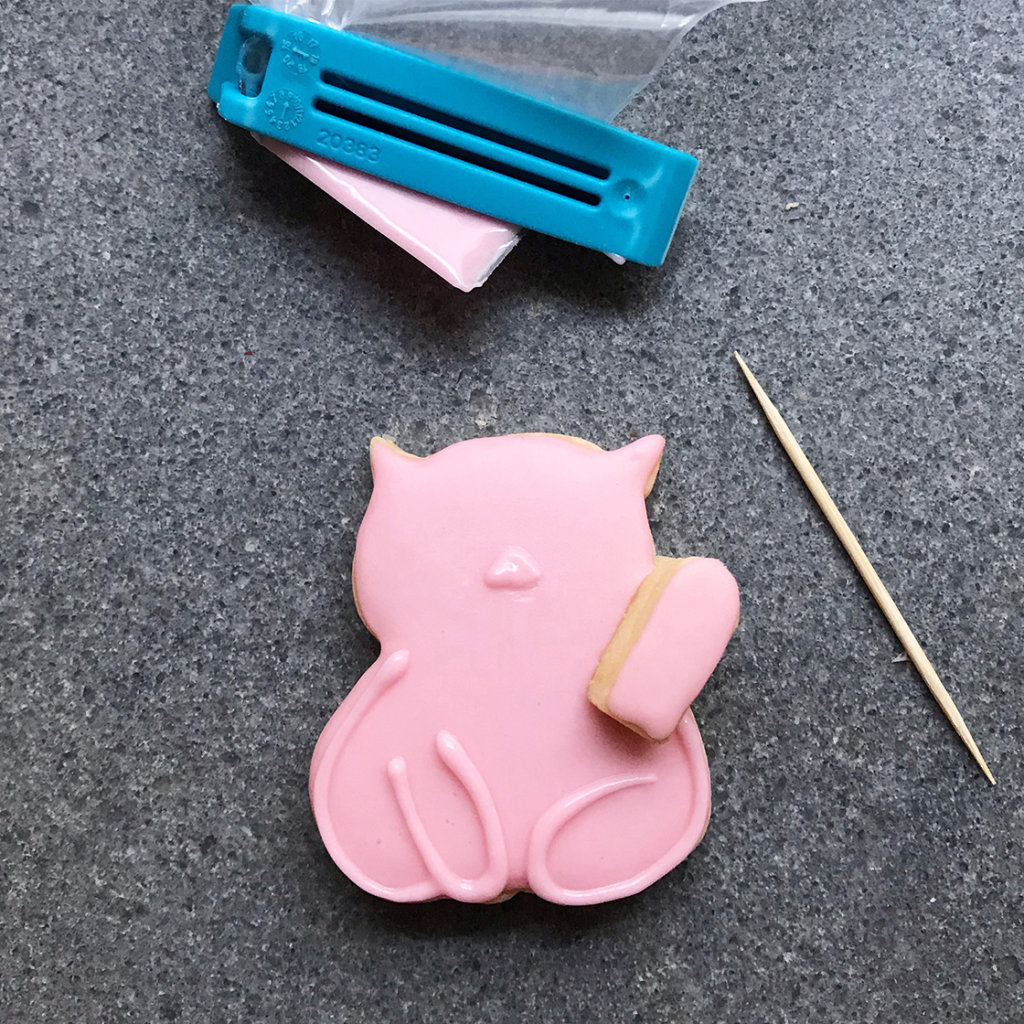
3. Outline your cookies with the thick icing and then flood with the thin icing, using a toothpick to pop any unwanted air bubbles. Leave to dry a little so it’s not runny but still wet and pop on the arm to set. If it’s too wet the arm will slide off.
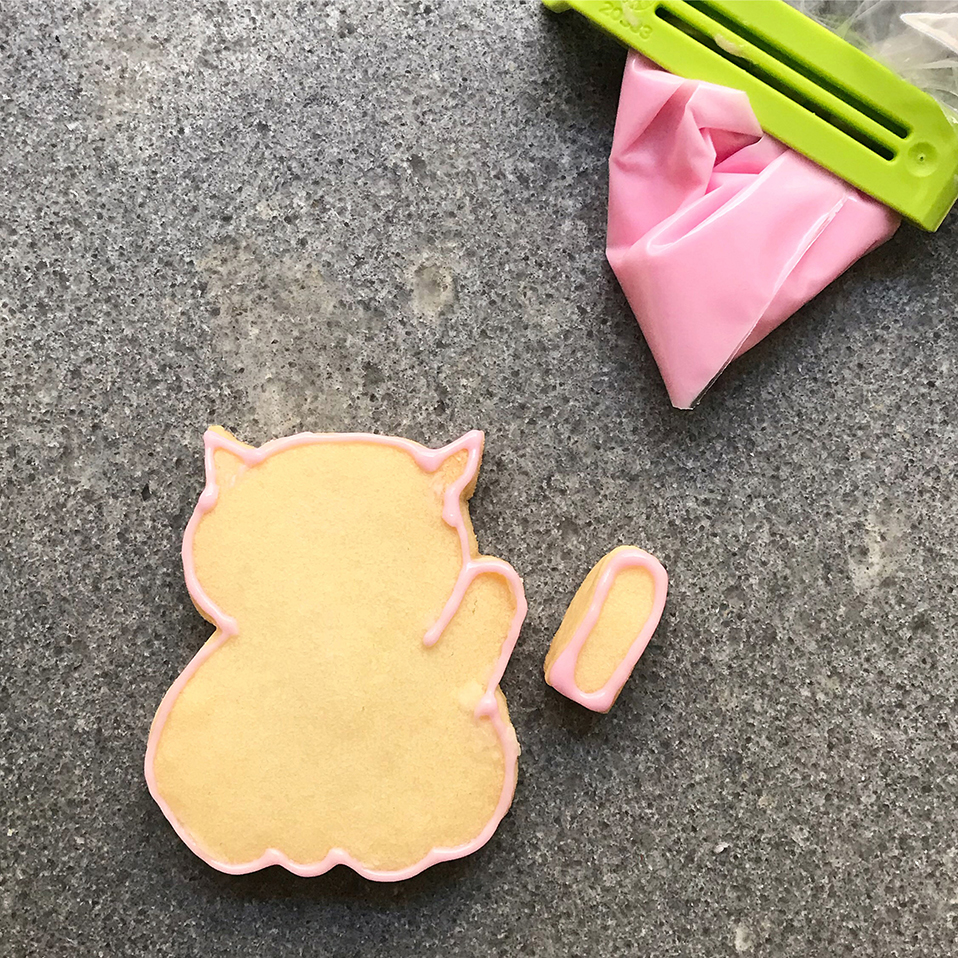
4. You can add some details to each cookie with the thick icing. I like to do a little triangle for a nose and some arm and leg details.
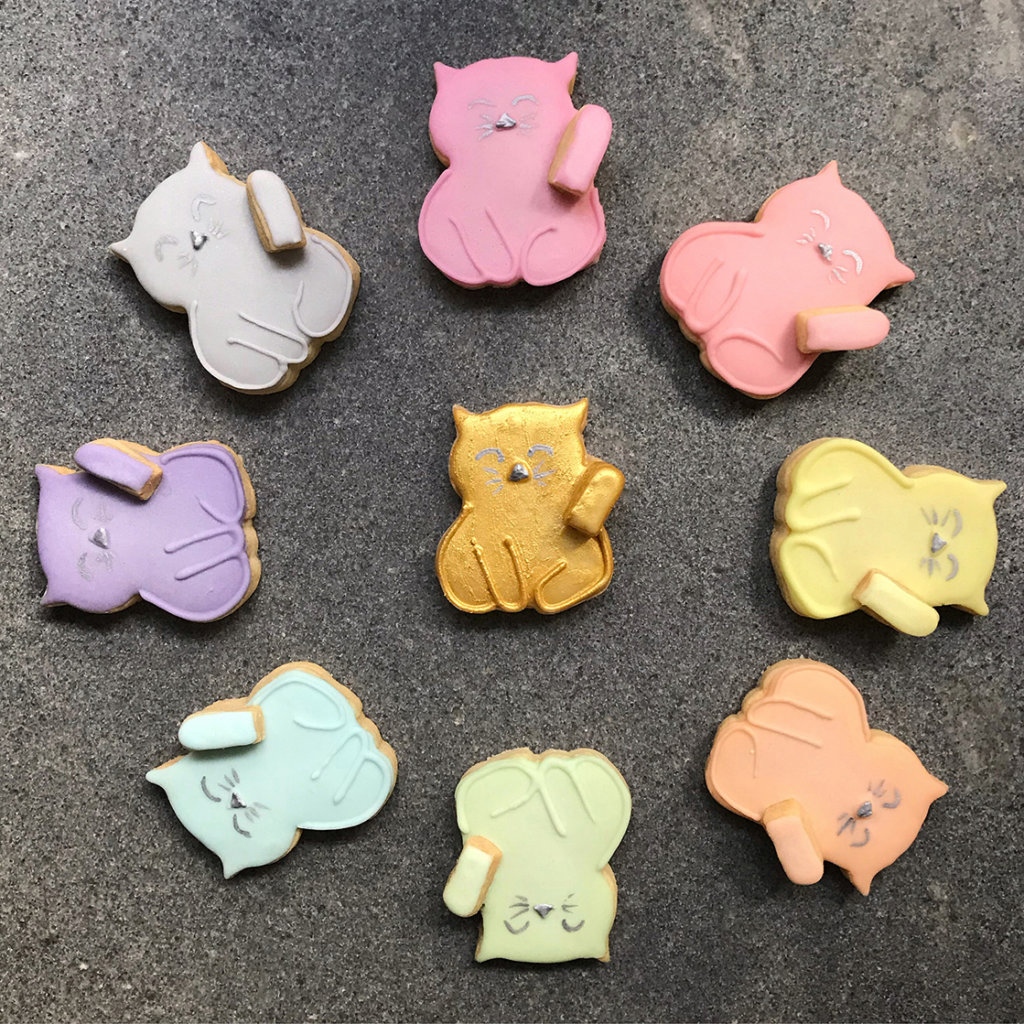
5. Once the icing is dry you can have some fun painting or drawing on the faces. I have used edible paint but you can use an edible pen. I like to paint the nose, eyes and whiskers onto the cat but there are so many different faces you could do or encourage your kids to do.
There you have some cute waving cats that you could use to decorate cakes, ice creams or just eat. X


Comments are closed.