")
Halloween is upon us, so here is a fun recipe from our friend Sally at The Party Project! It’s a spooky twist on Christmas gingerbread houses, and they are the cutest thing ever!
Sally tells us: “My kids love making gingerbread houses at Christmas time so we decided to make a spooky twist on that for Halloween with this creepy village cake. I think Tudor houses are creepy but these houses are so versatile you could do any of the Halloween colours. You could just stick with the fronts as cookies, or you could make cake toppers, table place setttings or a large house stuffed with lollies for a Halloween party.”
What you will need for the scary house cookies
EDIBLES:
- Cookie dough
- Royal icing powder
- Black edible paint or pen
- Chocolettes
- (Dried oregano for trees)
TOOLS:
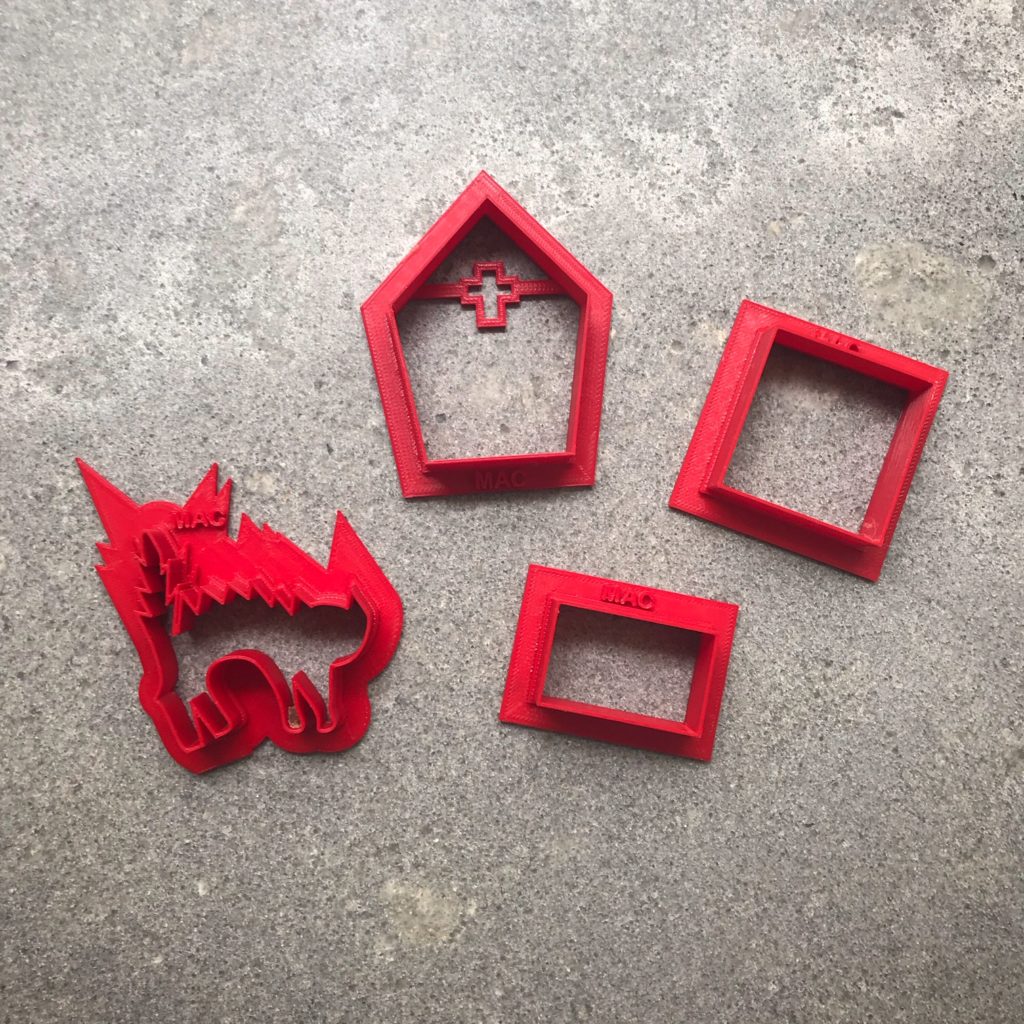
- Cutters
- Icing bags (I just use zip lock bags and clips)
- Toothpicks
- Paintbrush (if using edible paint)
- I have used some MACStencils cutters
- Use the cutters to cut out your houses, dipping the cutters in icing sugar or corn flour in between to stop the sticking.

- Chill your cookies on a lined baking tray in the fridge for ten minutes so they hold their shape whilst baking. If you are making just the fronts of the house to top a cake, stick a toothpick halfway into the bottom of the cookie so you can stick the rest of the toothpick into the cake to help it stand. Leave the toothpick in for baking.
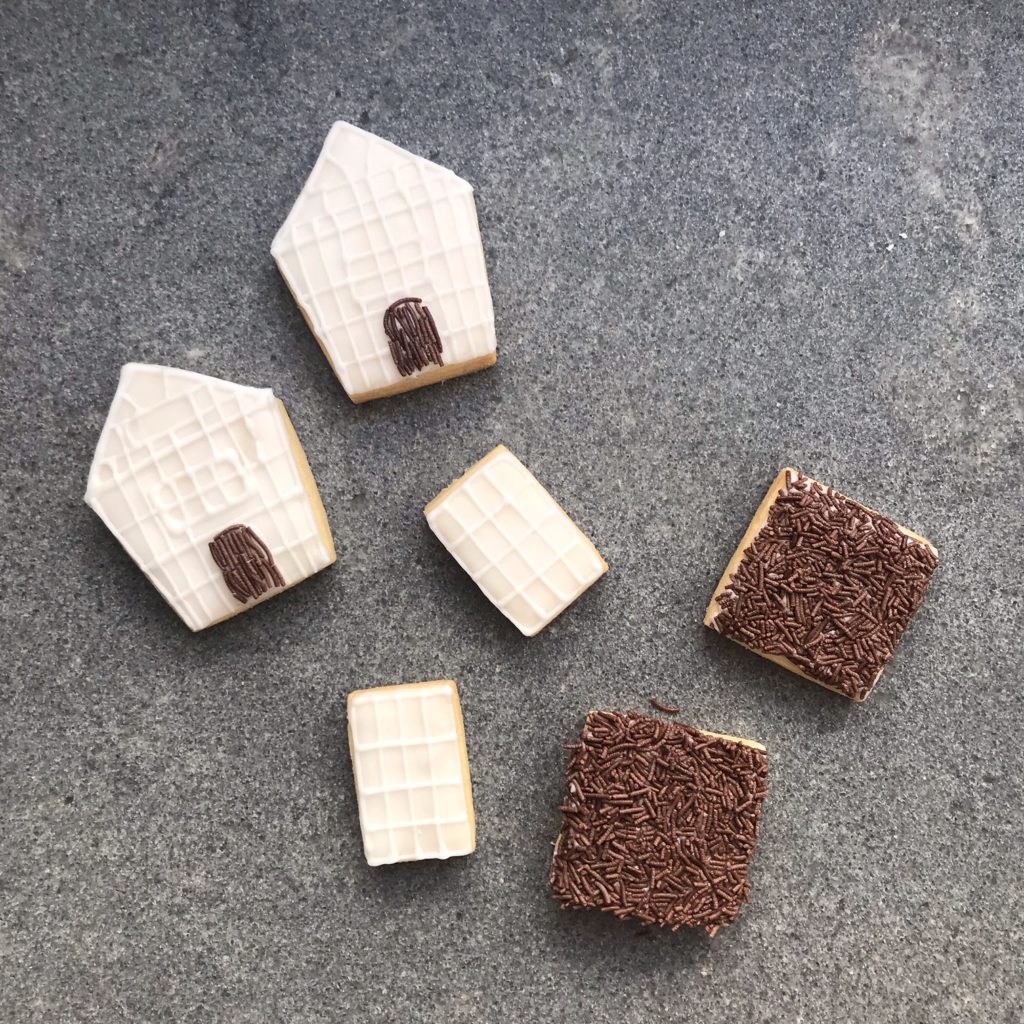
- Once your cookies have baked and cooled, make up your royal icing into two bowls, one a thick toothpaste consistency for outlines and details and the other a thinner shampoo consistency for flooding the cookie. Outline the front, back and side cookies. Flood your cookies with the thinner icing, using a toothpick to pop any air bubbles. Set aside to dry.

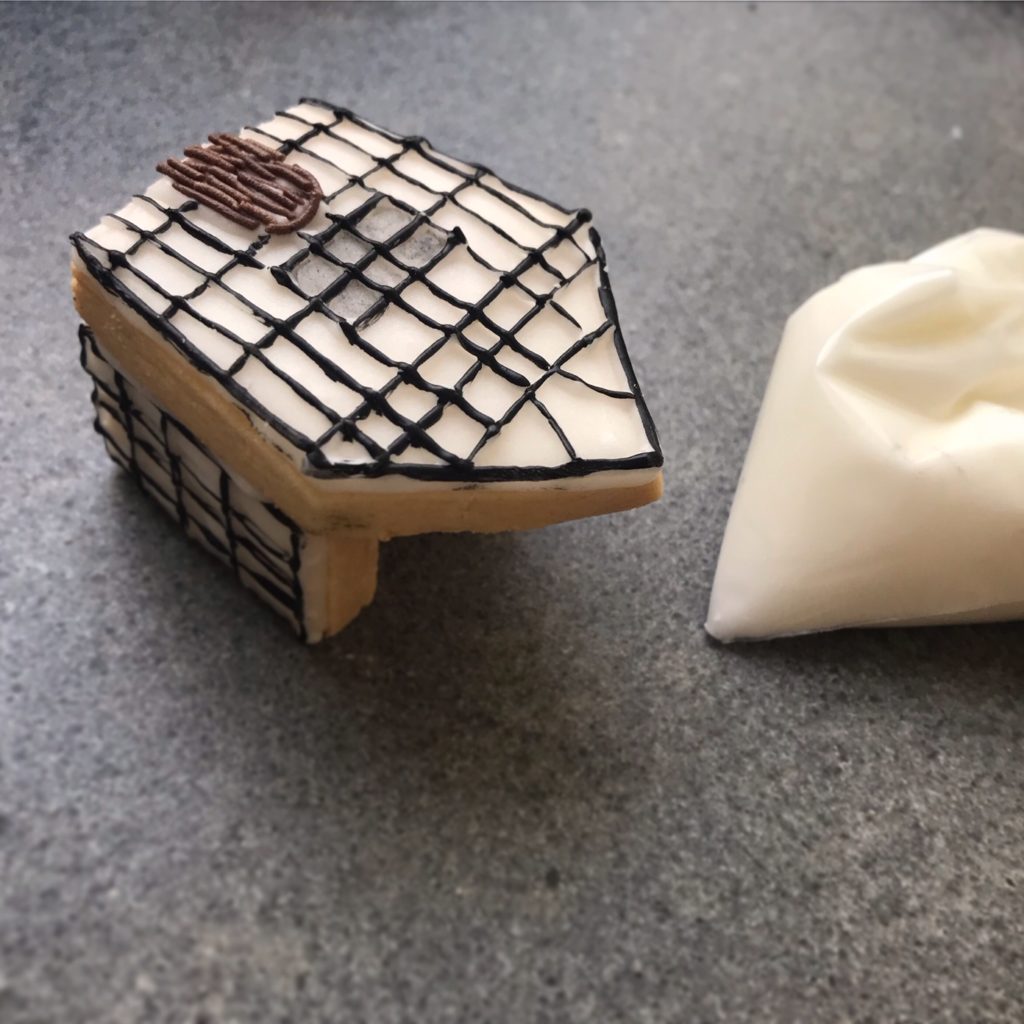
- Pour some chocolettes into a bowl. Outline the roof cookies and flood with icing them dip into the chocolettes to give the roof texture and leave to dry. Using the white thick icing draw details onto the front, back and side cookies, including a door which you could cover in chocolettes to give it a wood look.
- Once they have dried, using edible black paint or edible pen, highlight the details and paint a ghost in the window. Now it’s ready to be assembled. Using the thick icing, stick the parts of the house together and leave to dry. Topping the roof join with some more icing and chocolettes.

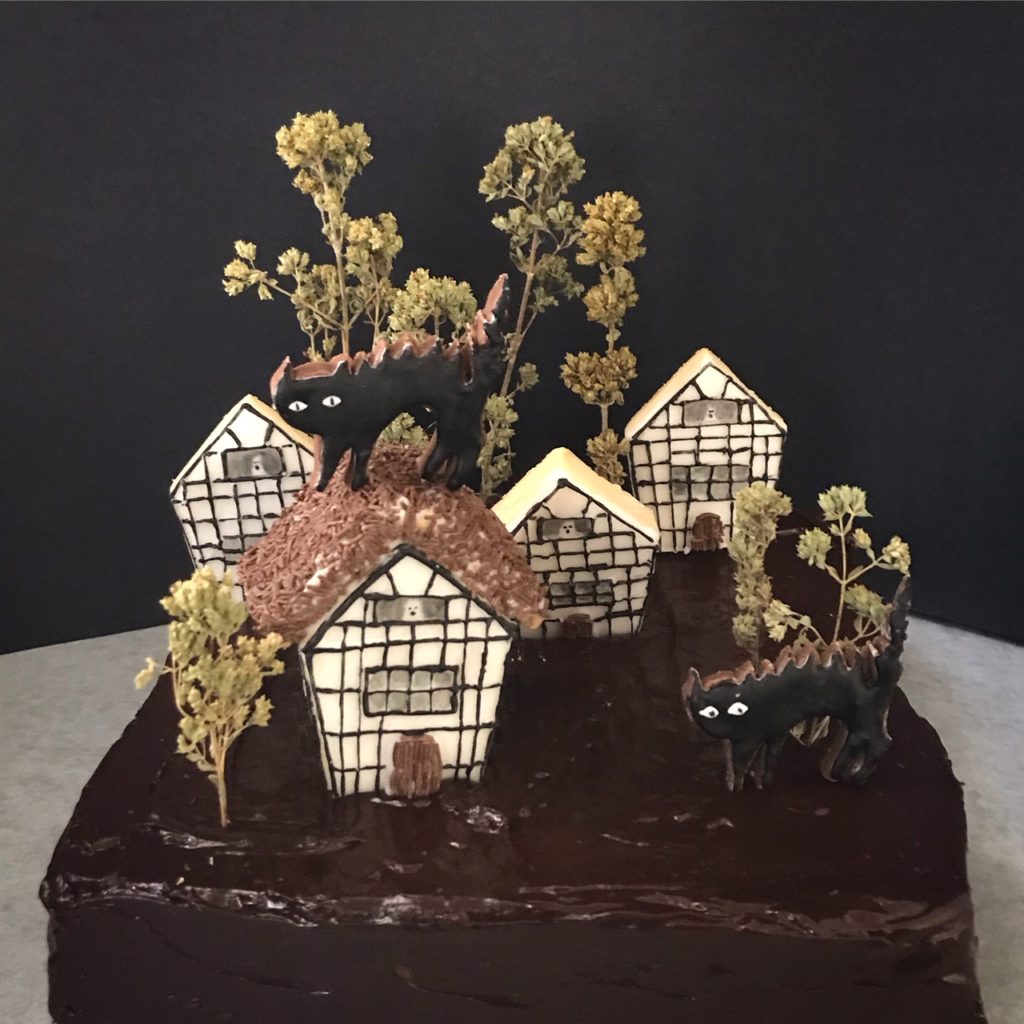
As I’m going to top a cake with my house I have gathered some things to go with it – dried oregano and creepy cats to make a spooky village scene.
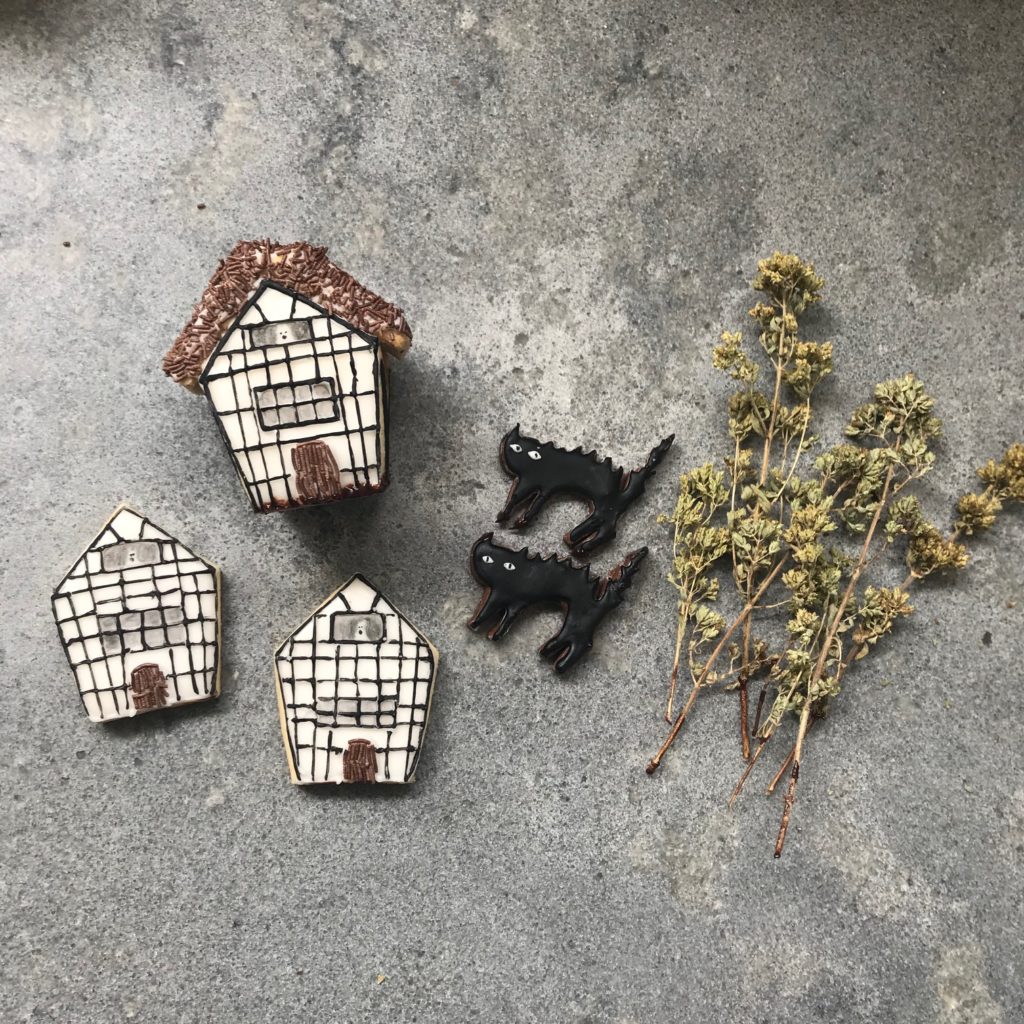
My kids like to help with the decorating and I can really trust the older two to do a great job where as the youngest will just try and eat it! Here is our spooky village cake, I hope it has given you some Halloween ideas!
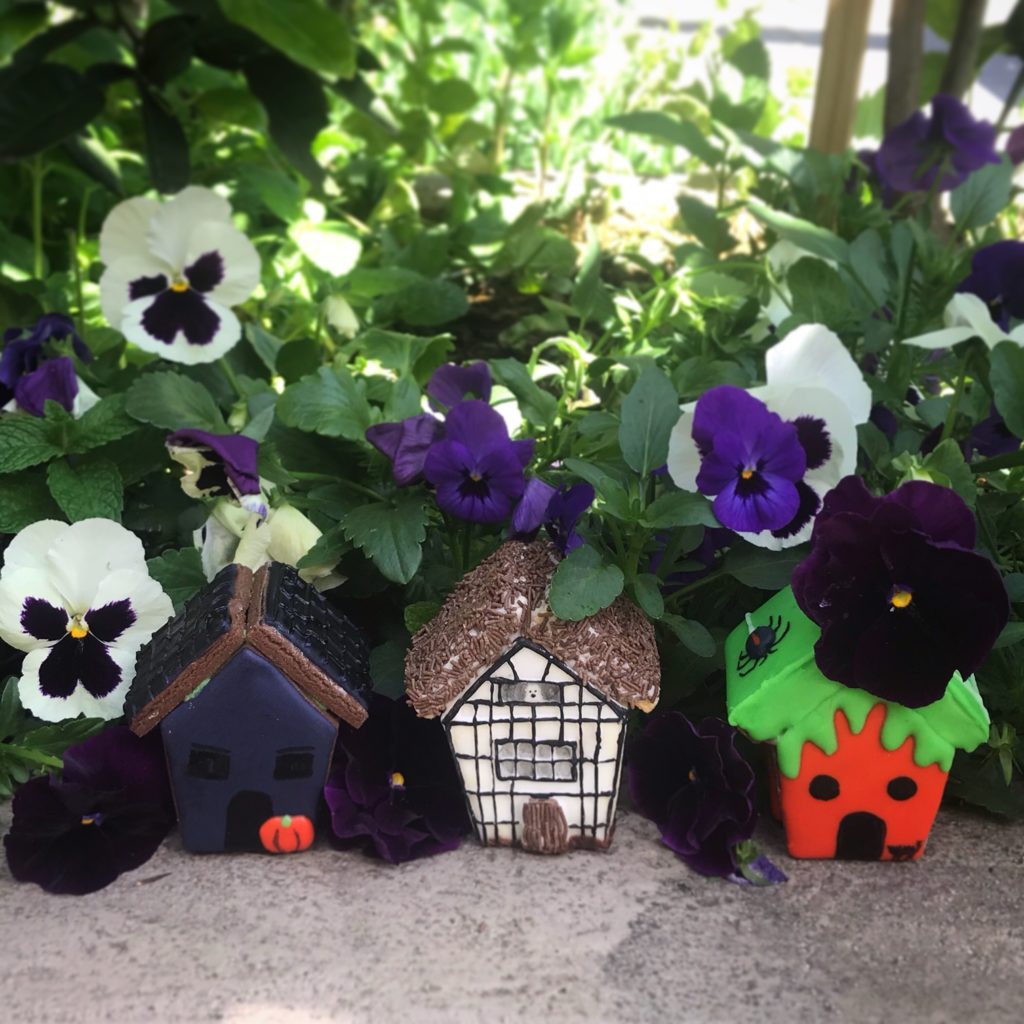
Here is a little Halloween village scene with a few more of those houses!
You can follow @the_party_project on Instagram.


Comments are closed.