I love mini cakes! They are so cute and it’s literally the only time I can eat a whole cake without feeling guilty! When I heard about Esther’s (from Confetti Fair) idea to put mini black forest cakes on the place settings for our Halloween mini-mag, I was all over it. They were so easy to make and look very cute. Of course, they were not authentic Black Forest, but you could follow this recipe and make it more authentic if you wanted to.
How to make and assemble your mini Black Forest cakes
You’ll need a chocolate sponge cake, a cookie cutter, some vanilla buttercream, glace cherries a piping bag and chocolate shavings.
- Bake a chocolate cake to your liking, or if you are so inclined, grab a pre-made slab of chocolate cake. A 20cm square baking tray should render 4 x 8cm circle cakes.
- Place your chocolate slabs into the fridge for an hour or 2 to firm them up.
- Whilst the cakes are chilling, make the vanilla buttercream. We made a classic American buttercream (I add a touch of vanilla essence too).
- When done, use an 8cm cookie cutter to cut them to size (we used an egg ring, but it was tricky).
- Using a serrated knife, slice through each 8cm circle to create the two mini cake tiers. A non-serrated knife will not cut as well
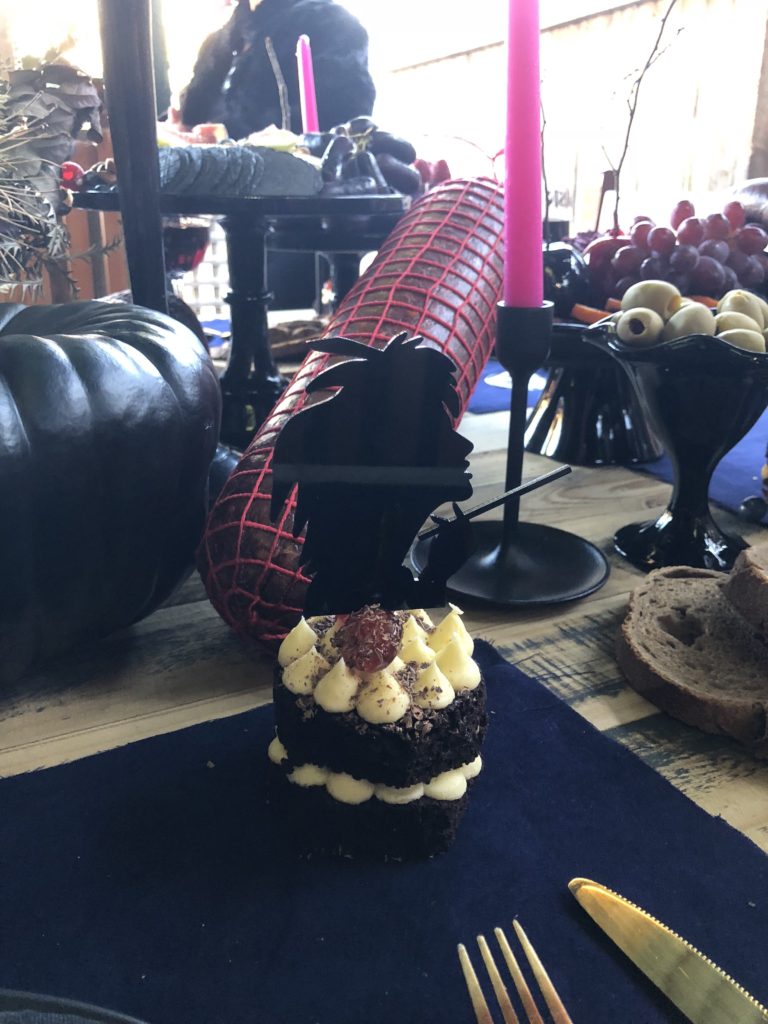
- Using a piping bag (plain tip), pipe ice the bottom tier of the cake in a circular motion. Gently place the second tier on top and repeat.
- Place chocolate shavings on top.
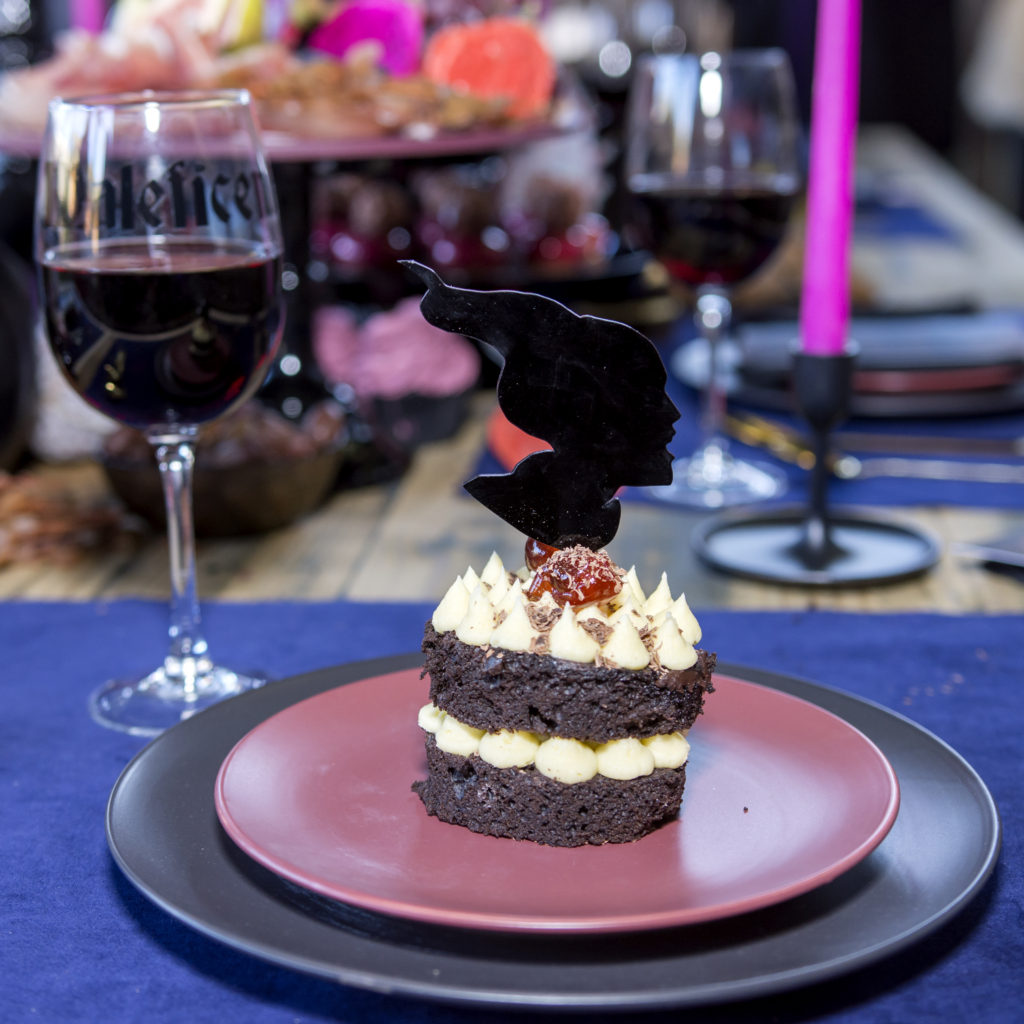
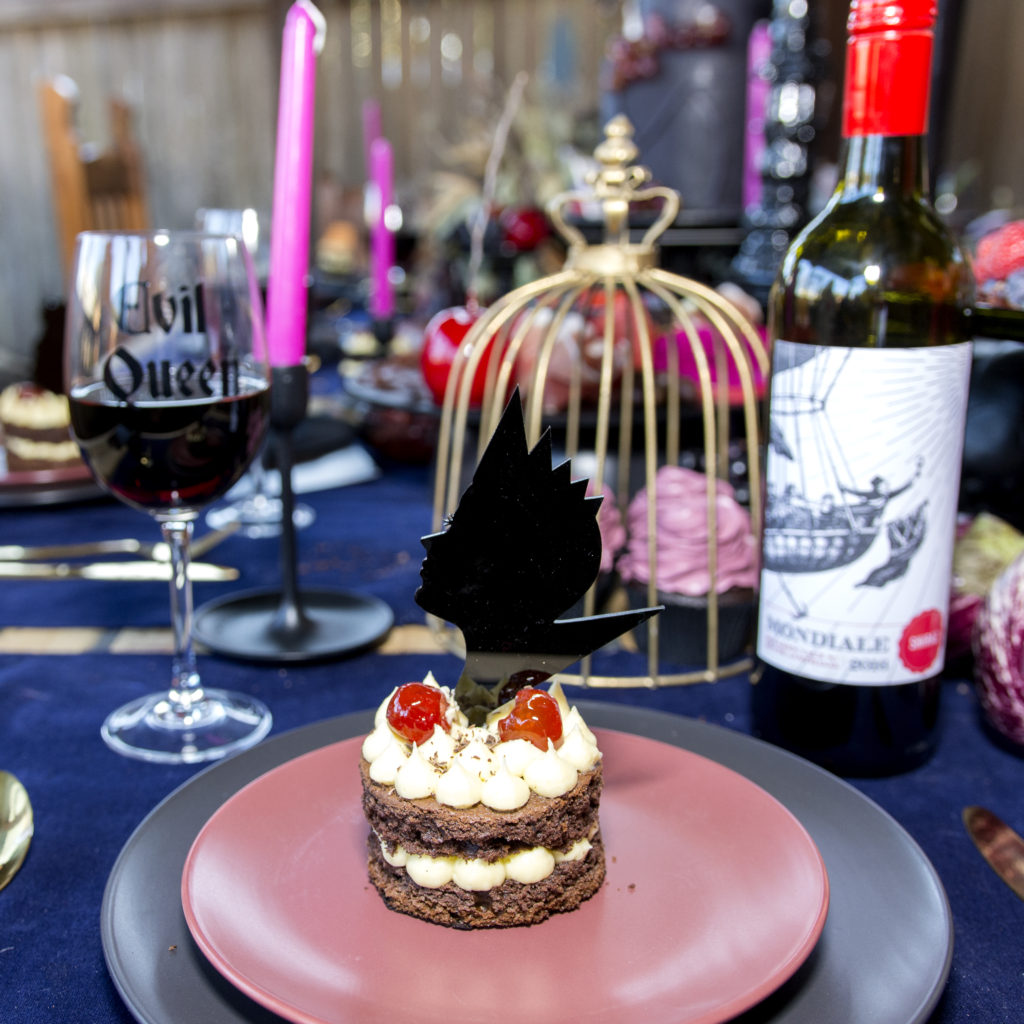
Images by ZOOM Images. Cake toppers by Strachan Creative. For full credits, read the Halloween Mini Mag.


Comments are closed.