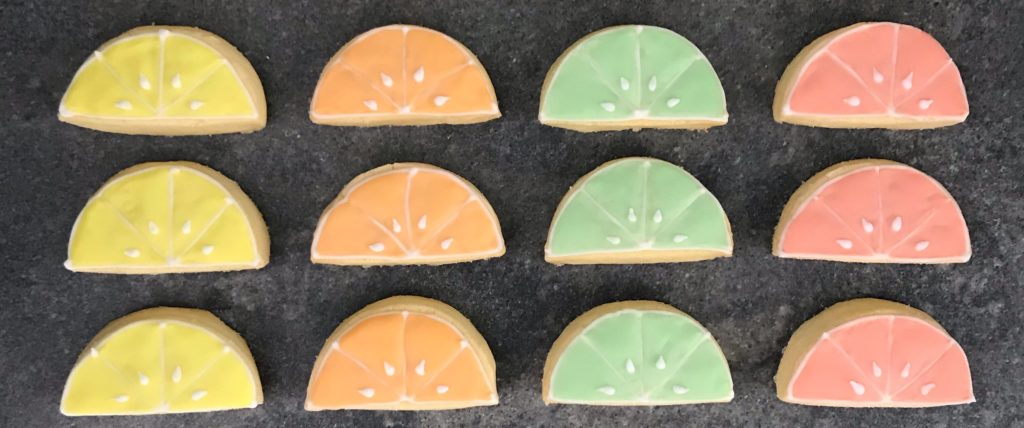
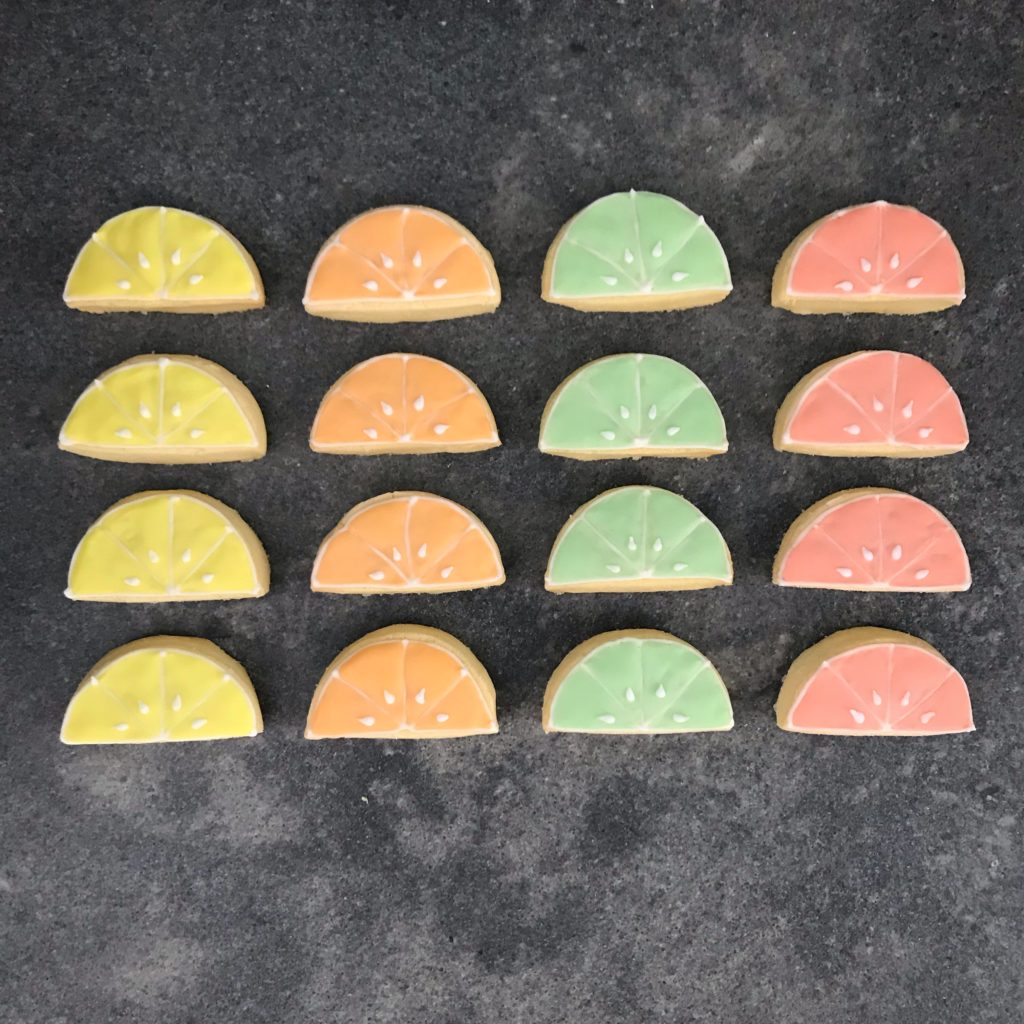
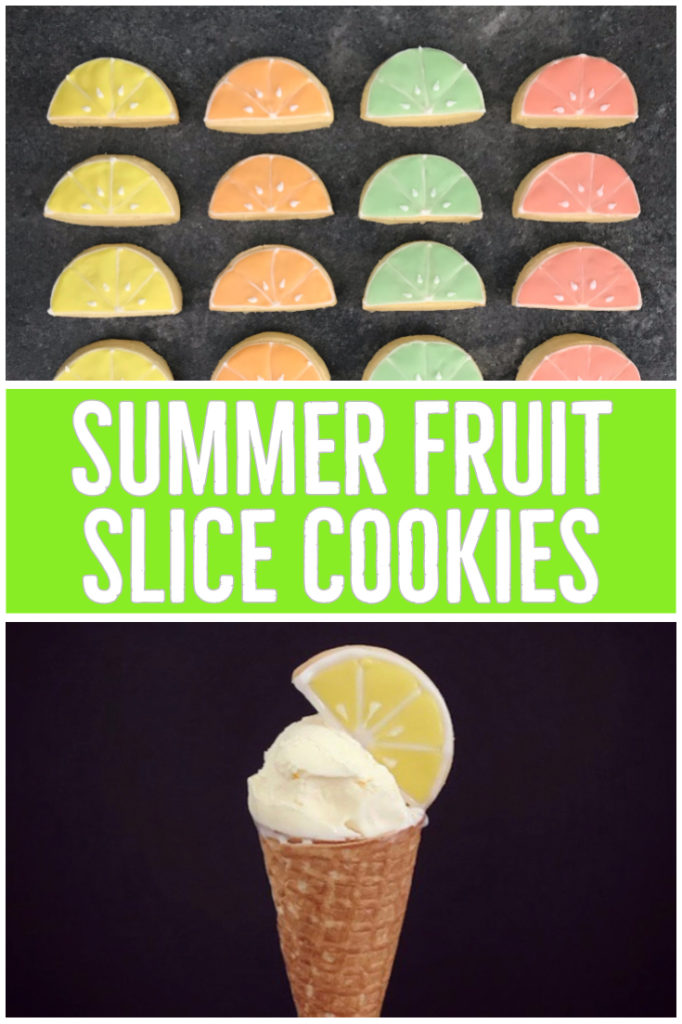
Ahh, Aussie summer! Sun, beach, BBQ’s….melted chocolate, runny cakes. You get my drift. Enter the humble cookie. Perfect for customising according to your theme and pretty much Summer proof (well, compared to most desserts). That’s why these fruit slice cookies from The Party Project are perfect for your tutti-frutti, citrus or tropical parties and look like such fun to make (does anyone else get mesmerised by those royal icing decorating videos because I do)!
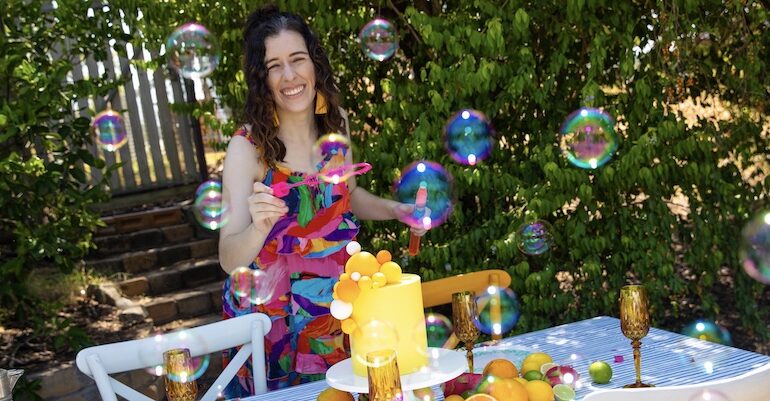
This cookie recipe has been contributed by Sally from The Party Project. Make sure you follow her Instagram account for the coolest cookies and party related stuff! And don’t forget to bookmark this page for your next cookie project.
What you’ll need for your fruit slice cookies
Edibles
- Cookie dough
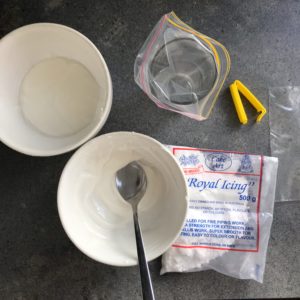
- Royal icing
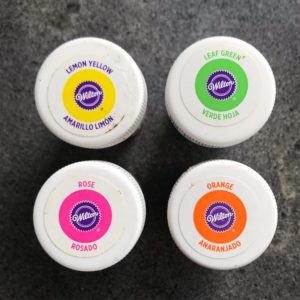
- Wilton colour gels
Tools
- Circle cookie cutter
- Rolling pin
- Knife
- Toothpick
- Baking paper
- 5 icing bags ( I use sandwich bags and clips)
Method for fruit slice cookies by The Party Project
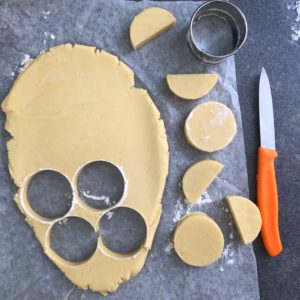
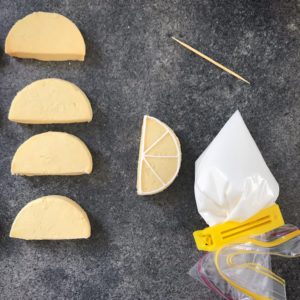
1. Roll out your cookie dough and cut out some cookies using a circle cutter, remembering to dip it in corn flour in between cookies, so it doesn’t stick. Using a knife, cut them into halves.
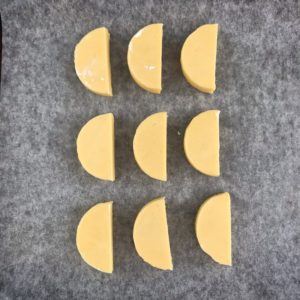
2. Place the halves on a tray and chill in the fridge for 15 minutes prior to baking so they hold their shape.
3. Make up some royal icing in two bowls, one a toothpaste consistency for the outlines and details and one a shampoo consistency for flooding the cookie.
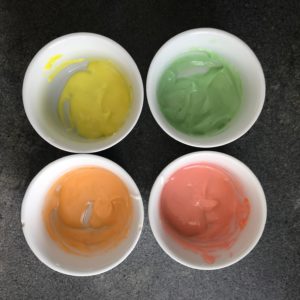
4. Choose your colours and colour the flooding icing. I used Wilton gel colours for these
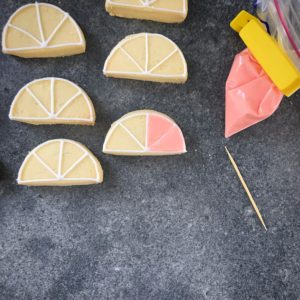
5. Outline the cookies with the thick white royal icing, a semi circle broken up into 4 segments
6. Flood each segment with your coloured icing, using a toothpick to drag the icing into the corners.
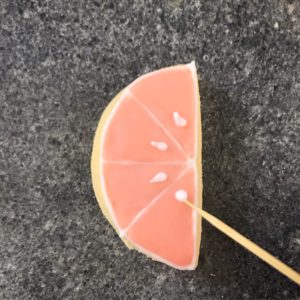
7. Once the icing has dried place four dots of white icing in the corners of the segments, then using the toothpick, drag the icing upwards to create a teardrop shape.
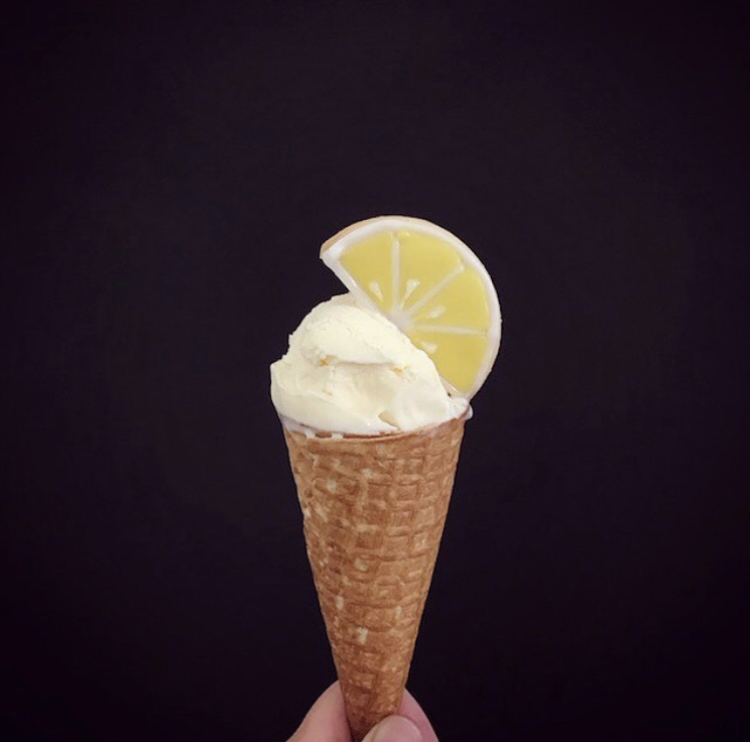
8. Once dried they can be eaten or used to decorate cakes and ice creams.
Enjoy! x
Follow the adventures of The Party Project here.


2 Comments
Love love love!!!
So adorable! I love these so much!! Great tutorial Sally!!